Wanting to learn how to distress your own denim? Keep reading for the full beginning to end guide on distressing denim to perfection!
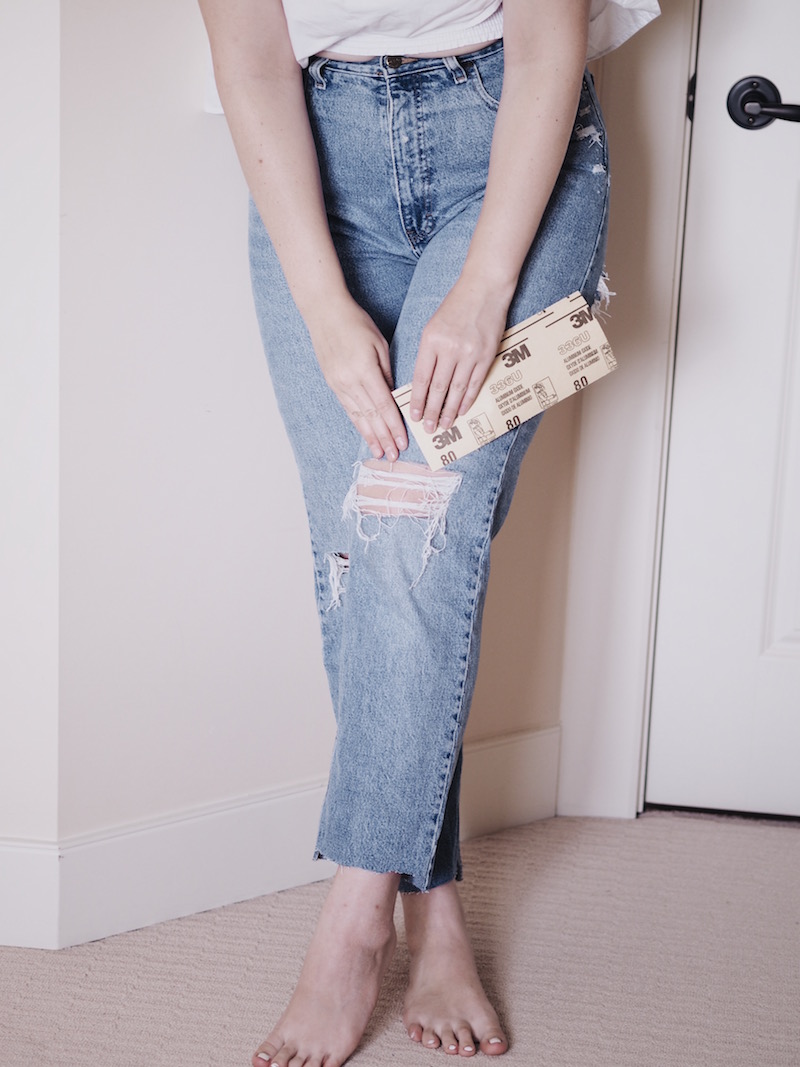
Over the course of the last year, I’ve been attempting to try and go thrifting more often. I LOVE the potential of the thrift store; you get unique pieces for so cheap. What’s not to like?!
Denim is always something I look for at thrift stores because older denim tends to fit me a lot better than the newer, stiffer jeans a lot of brands are selling these days. I got super lucky the past few times, and found jeans that were the perfect candidates for distressing.
The pair of denim from this post were the first pair I ever distressed! They were a bit too “mom” jean for me!
When you’re looking for denim to distress, make sure that it’s “real denim”. Basically, it has to be the thick jean material that you imagine your mom wearing in the 90’s. Usually, it’s made from 100% cotton and feels stiff to the touch. This is super important because the newer stretchy material doesn’t distress very well when doing it yourself. Basically the “insides” of the jeans look differently, therefore they distress differently.
Once you’ve found your perfect jeans, you’re ready to distress!
Trust me when I say distressing denim is easier after a bit of practice. If you have the option, start with a pair of denim you’re not too keen on, just to practice.
A Complete Guide to Distressing Denim
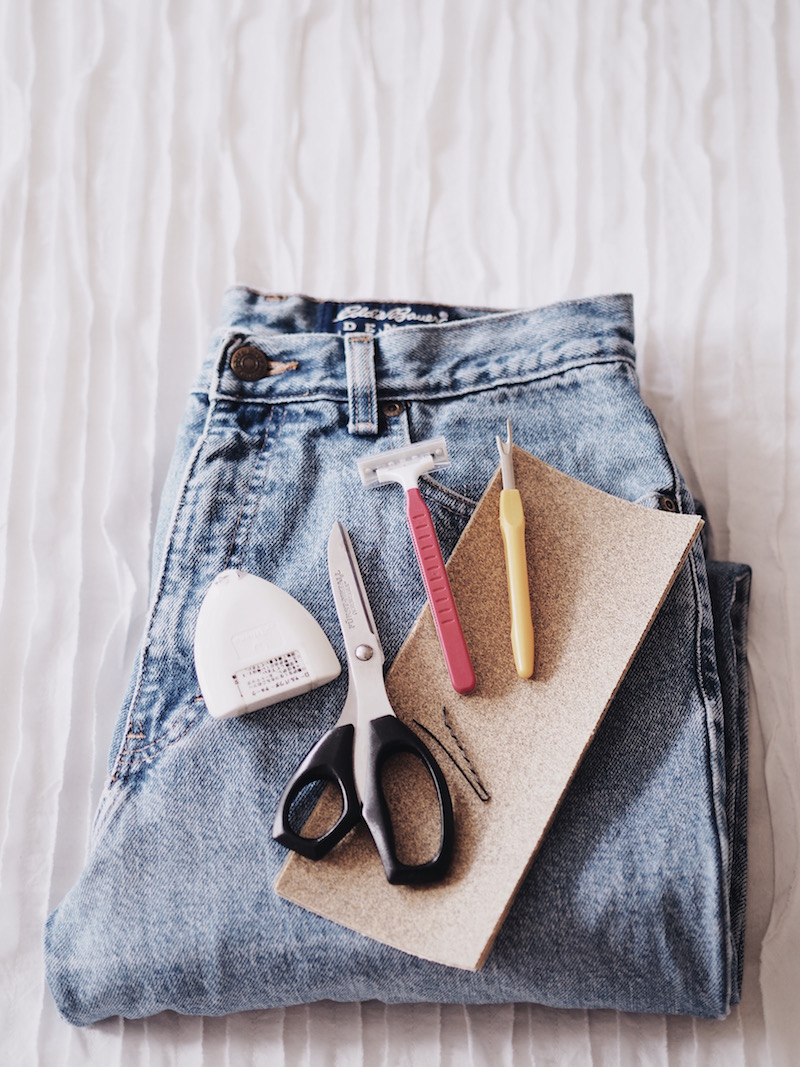
Things you’ll need:
A pair of denim
Chalk or a pen (I used sewing chalk and it was perfect!)
Scissors
A razor
A seam ripper (If you don’t have one of these, a bobby pin without the protective coating will work as well)
Sandpaper (Get a lower grit, 80 works well)
Step 1:
Put on the jeans and decide where you want the major rips to be. I usually mark 3 things:
-
where the top of my knee is
-
where the jean creases under my bum
-
the length I want the legs
I recommend using the sewing chalk because it easy rubs off, but a pen would work fine if the jean is a darker wash. Don’t worry, if you use a normal pen, it’ll wash out in the laundry. Keep in mind that you’re making SMALL marks on the denim. Just something so you know where you want to start making cuts.
Step 2:
I usually start by cutting off the bottom of the jeans. Usually I like the edges to be raw and then I can alter the length to fit my legs perfectly.
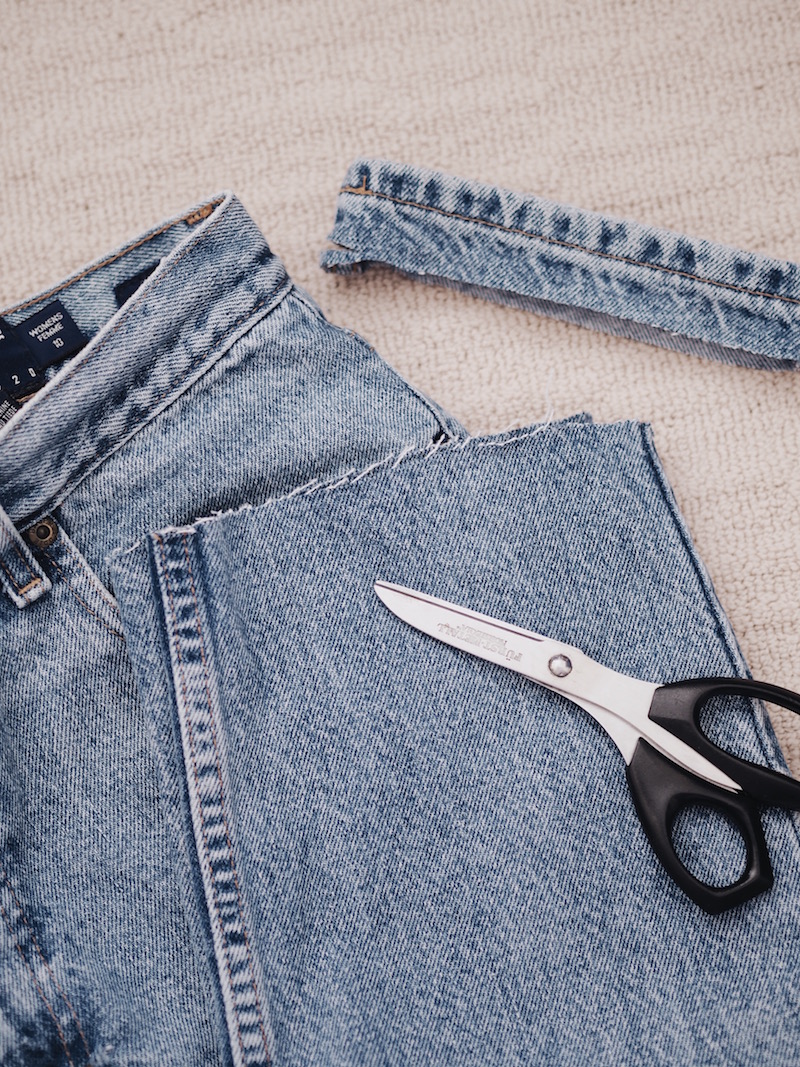
Start by cutting off just the seam from the bottom and work up from there. If you have another pair of pants that you love the length, measure them against your denim and match the length. Remember to match the crotch seam together if using this technique, that will ensure the inseams are the same length rather than taking the waist into account too.
Step 3:
Cut the rips.
I start with cutting the main rips and then moving on from there.
The knee is alway my go-to to start with. With the scissors, cut horizontal along the leg where you marked the top of your knee. Cut as straight as possible. By cutting straight, you’ll hopefully be able to keep the white threads intact on both ends of the rip.
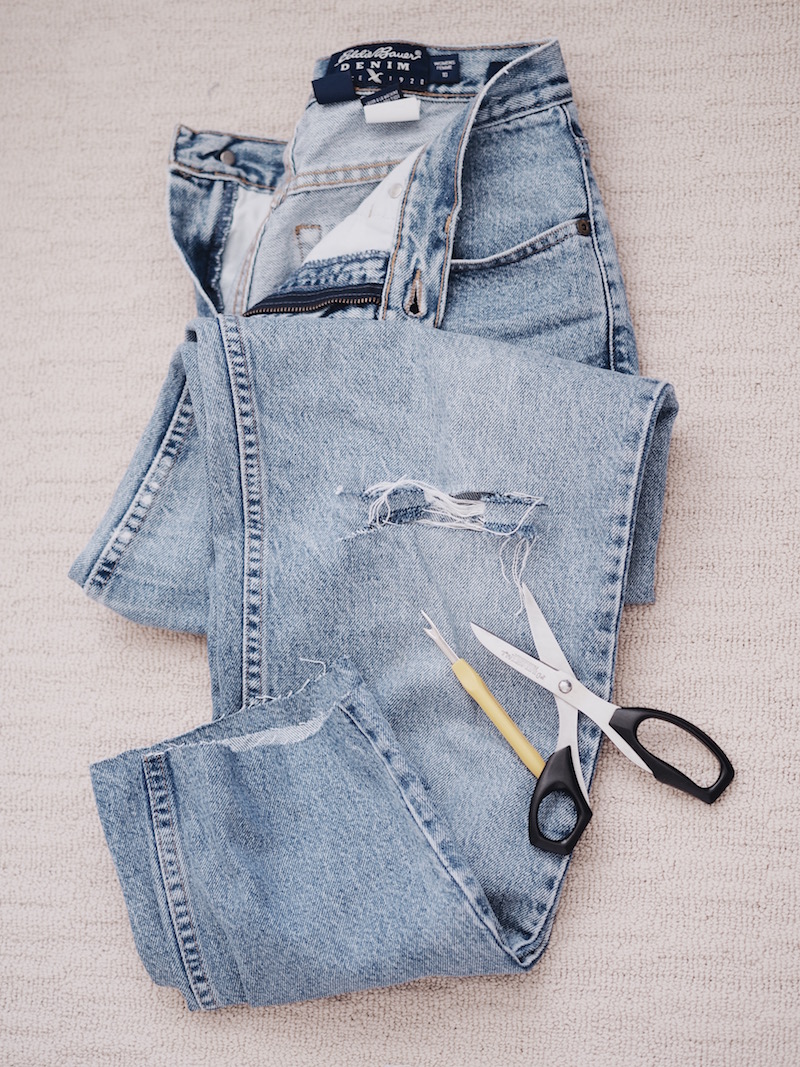
I make my knee rips about 3 fingers widths wide and about 2/3 the width of the pant leg. Make two horizontal cuts where you want the rip to be. In between those two cuts is where your rip will be, so cut accordingly.
Remember, you can always make the rip bigger, but you can’t make it smaller so keep it SMALL to start with!
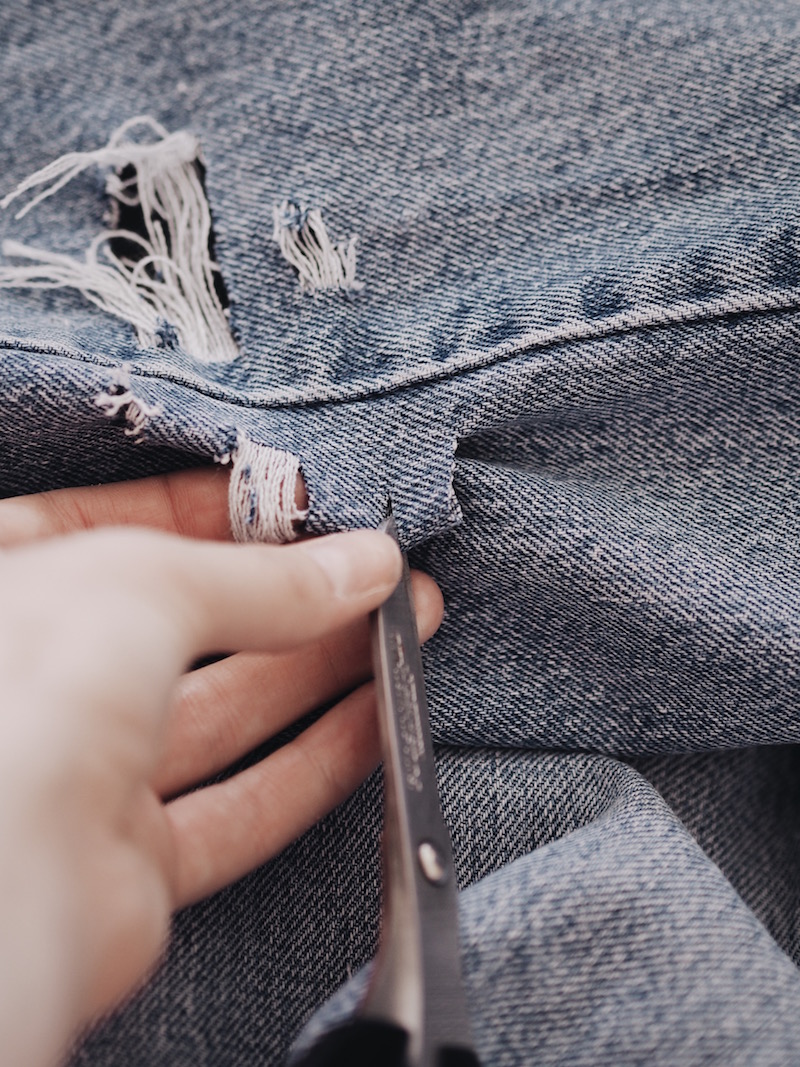
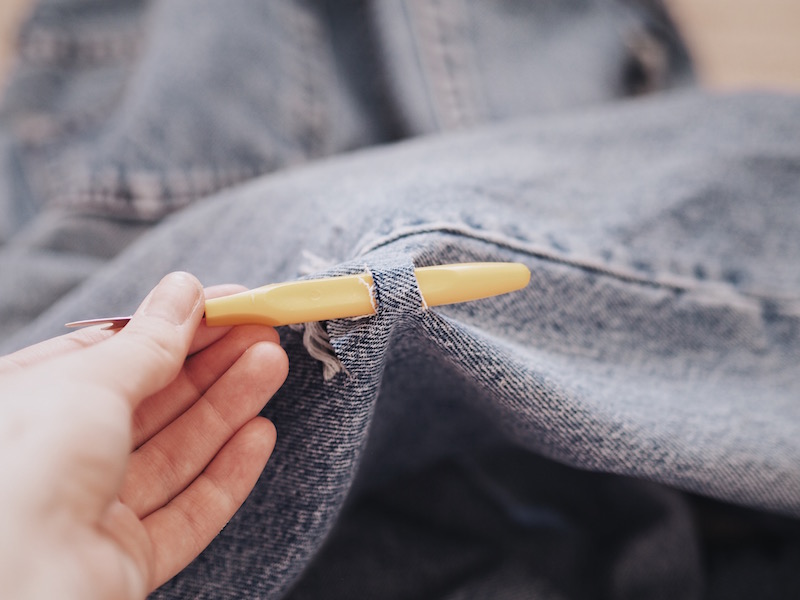
Next up, whichever other rips you want: thigh, other knee, pockets, etc. My go-to is the crease under my bum. I don’t make a super big cut and I always make sure it’s closer to the side seem than the middle of the denim. This one I make significantly smaller than the knee rip.
Step 4:
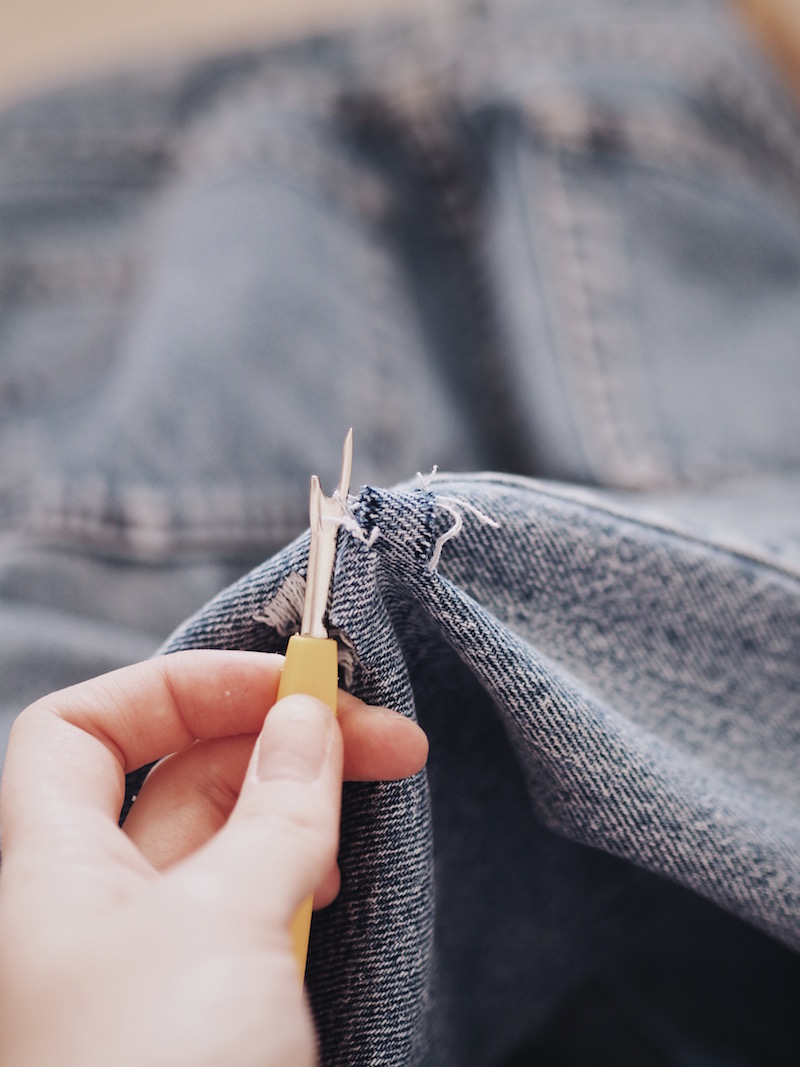
With your seam ripper, remove the blue threads from in-between the two cuts you made from Step 3. This can be done by gently pulling out the white threads without ripping them, and then once the blue threads are loose enough, pulling them out with your fingers or tweezers.
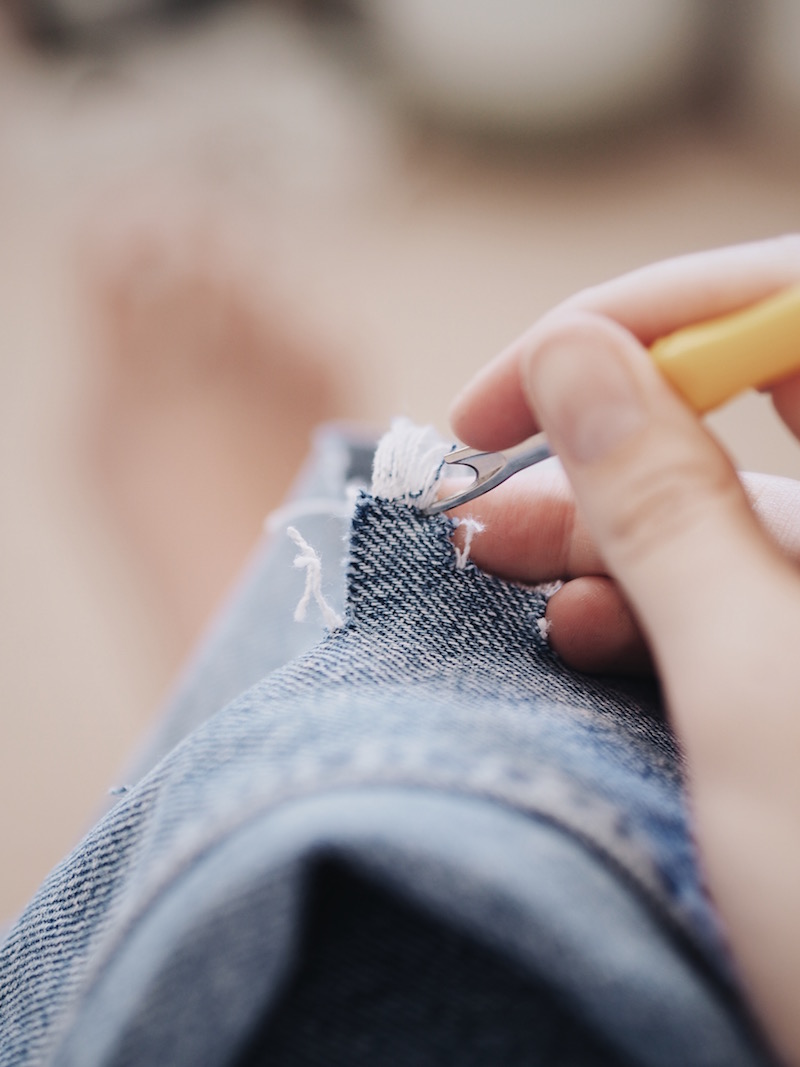
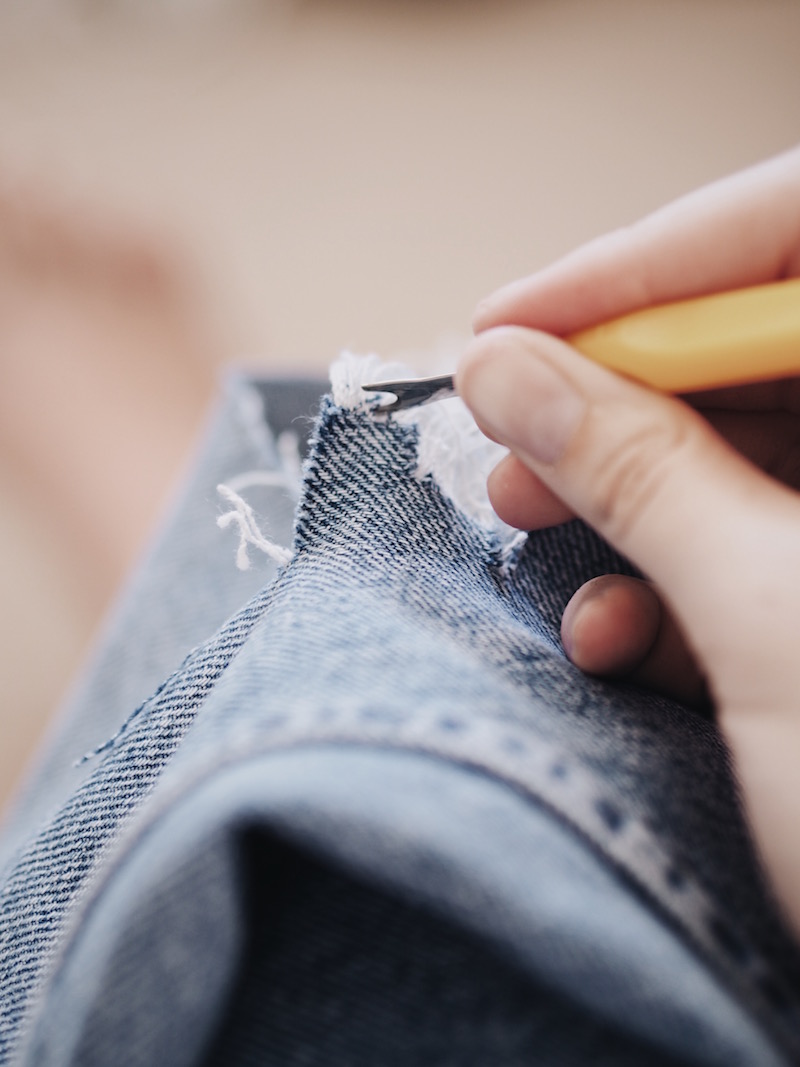
Be GENTLE.
It takes a lot of time to get all the blue threads loose from the white, especially with bigger rips.
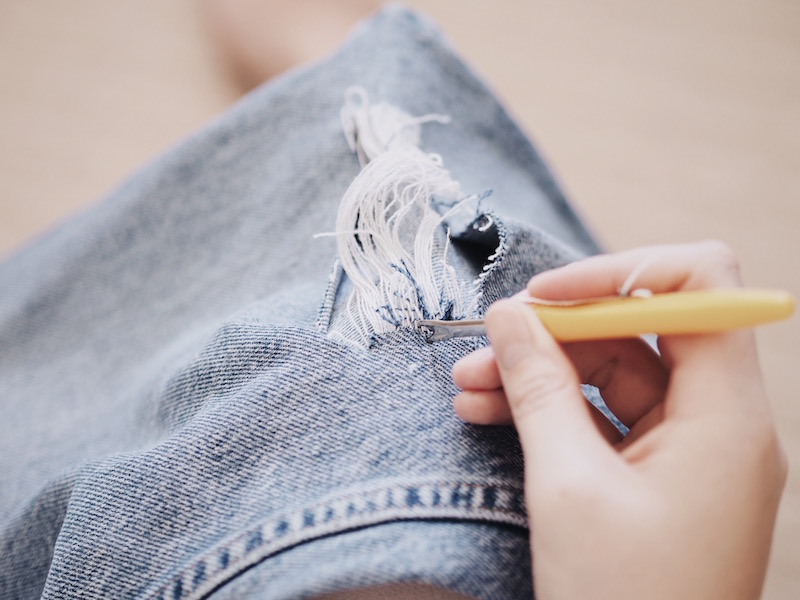
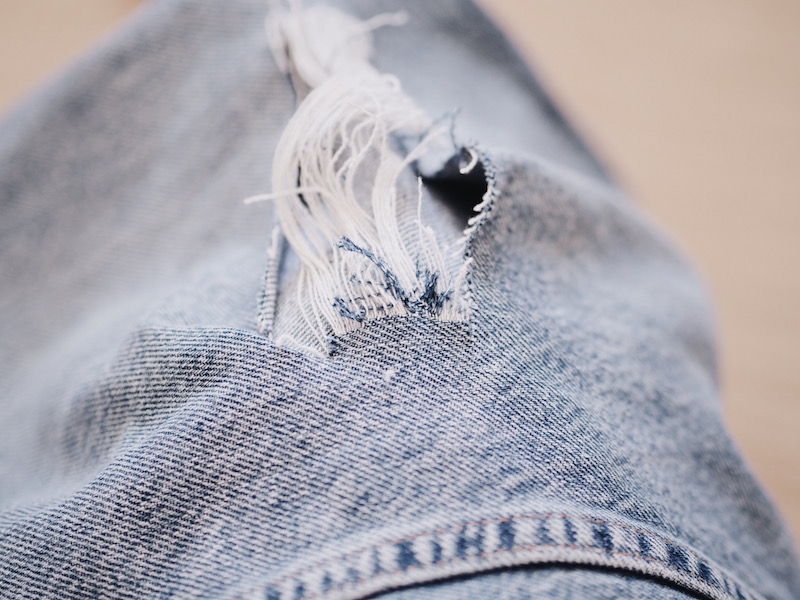
Be careful to keep the white threads intact because those are what are going to cover part of the rip with the white threads, like you would commonly see.
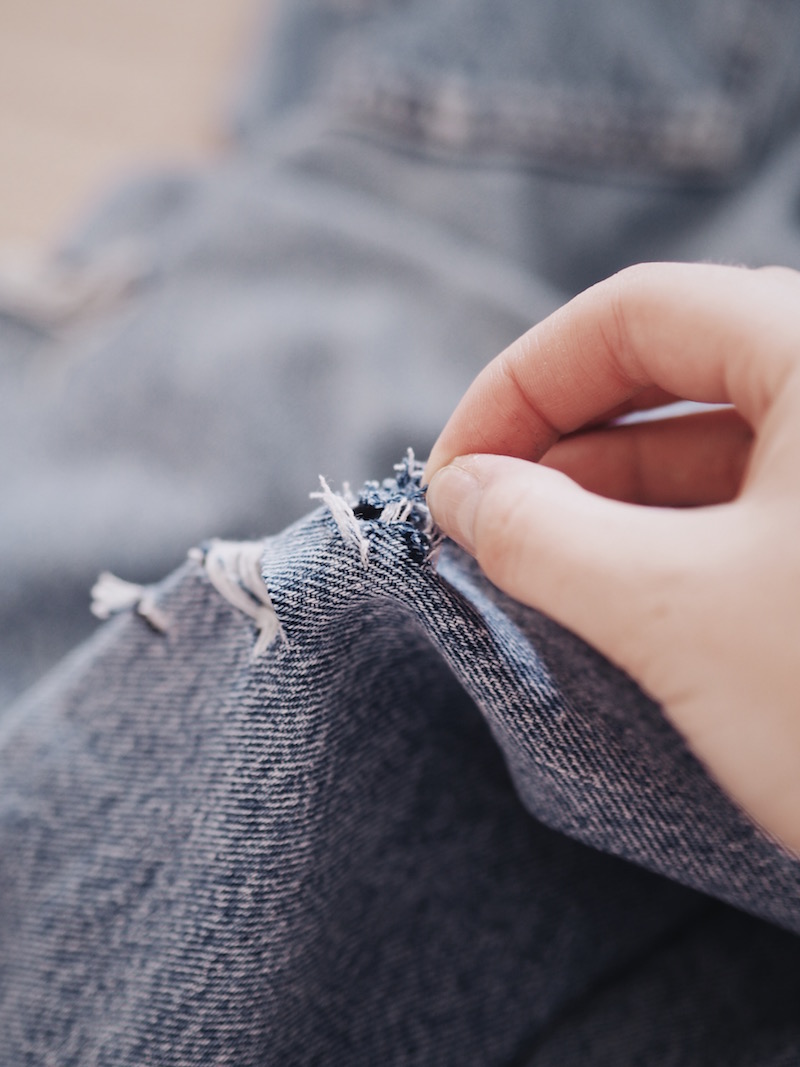
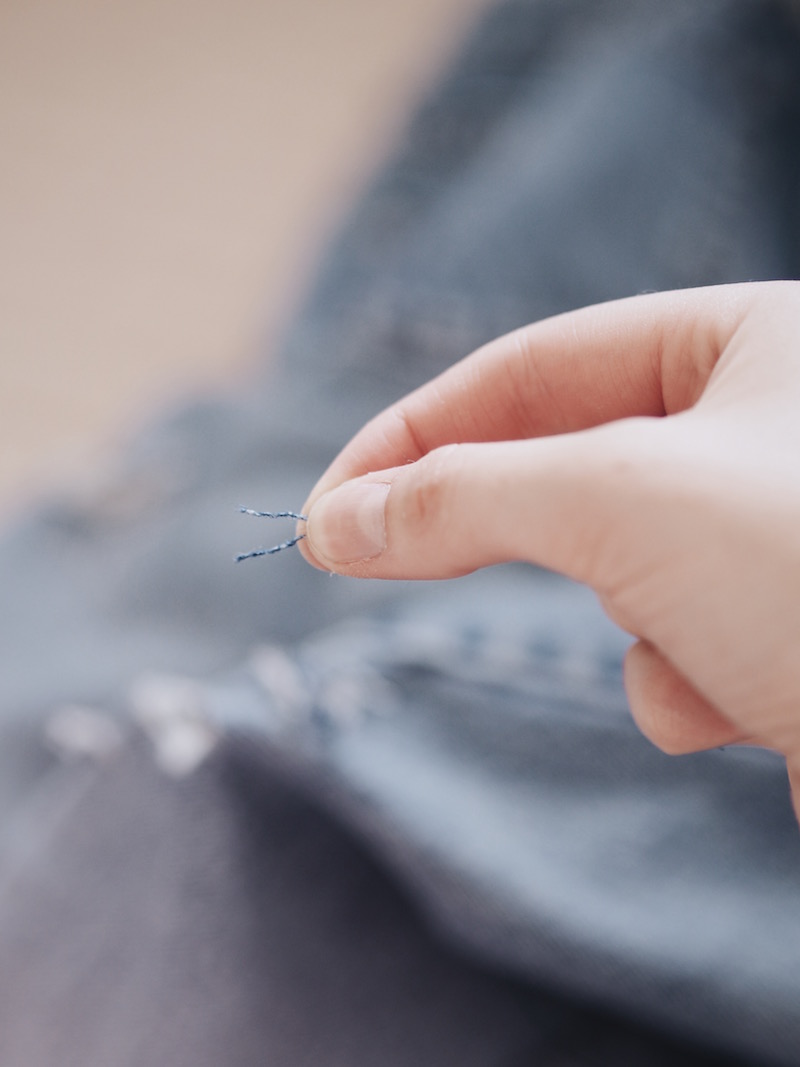
Step 5:
Use the razor to make small distress marks on the denim.
This can be done anywhere but I like to do it around the rips, seams and pockets.
Move the razor left to right while gently putting pressure so it cuts the jeans. Make sure not to press too hard, or you will put a larger hole in the jeans.
Step 6:
Using the sandpaper, rub around the rips you’ve made, including those from step 5. This will make the rips look more authentic, if you will.
I usually use the sandpaper on almost every part of the denim I’ve worked on to make it more worn in looking. I also rub the sandpaper on the front of the thighs to slightly remove part of the colour and give it a touch of fade.

The harder the feel of the denim, the more grit the sandpaper should have (which means lower number). I used an 80 grit sandpaper with my super thick denim, and a 100 grit for my slightly less stiff jeans.
Careful, if you rub too much with the sandpaper around the rips, it will cause the white threads you carefully kept intact to break. Breaking some is totally normal, and actually looks good, but try not to break them all.
Step 7:
Put the jeans on and take a peak at your work so far. Take mental note of where you’d like to add more rips, make existing rips bigger, and generally add more distressing.
Repeat steps 3, 4 and 5 to make new rips.
In my own denim, I usually like 1 or both knees ripped, a little bit of ripping on the outside calf, quite a bit of ripping in the front and back pocket area, and a little bit of ripping on the crease between my thigh and bum.
Step 8:
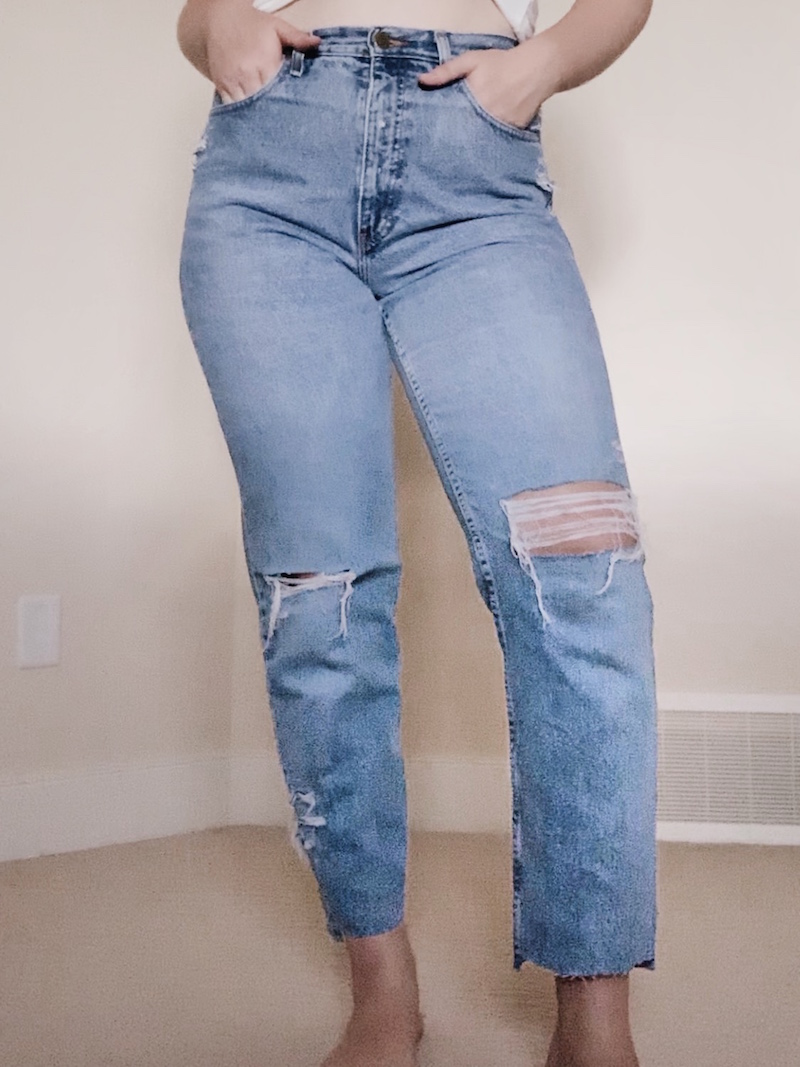
Wash your denim. This makes the white threads come loose significantly on the bottom and slightly around the rips. This will be the final look of your distressed denim!
The best part of distressing denim, is that you can always do more if you’re not satisfied! So start small and work from there.
I posted a video showcasing all these steps in real life – aka showing you the exact video I took while I was ripping up these jeans. You can check that out on my Instagram page!
If you have any questions, hit me up in the comments! It can be a little nerve wracking at first but don’t worry, every mistake is just a little more character in your new fave denim!
xx Victoria



Hey Victoria,
I’m so glad you’re planning on making a video on this procedure. 🙂 Please make sure to include a part where you’re actually wearing them, in order to show off the result. Thank you. Cheers.
Oh my goodness, of course! I filmed that part and everything and somehow managed to not take a photo. I’ve added a temporary photo of the finished product at the end of the post, but will definitely be updating with a better quality photo. Thanks for the suggestion and thanks for reading! xx